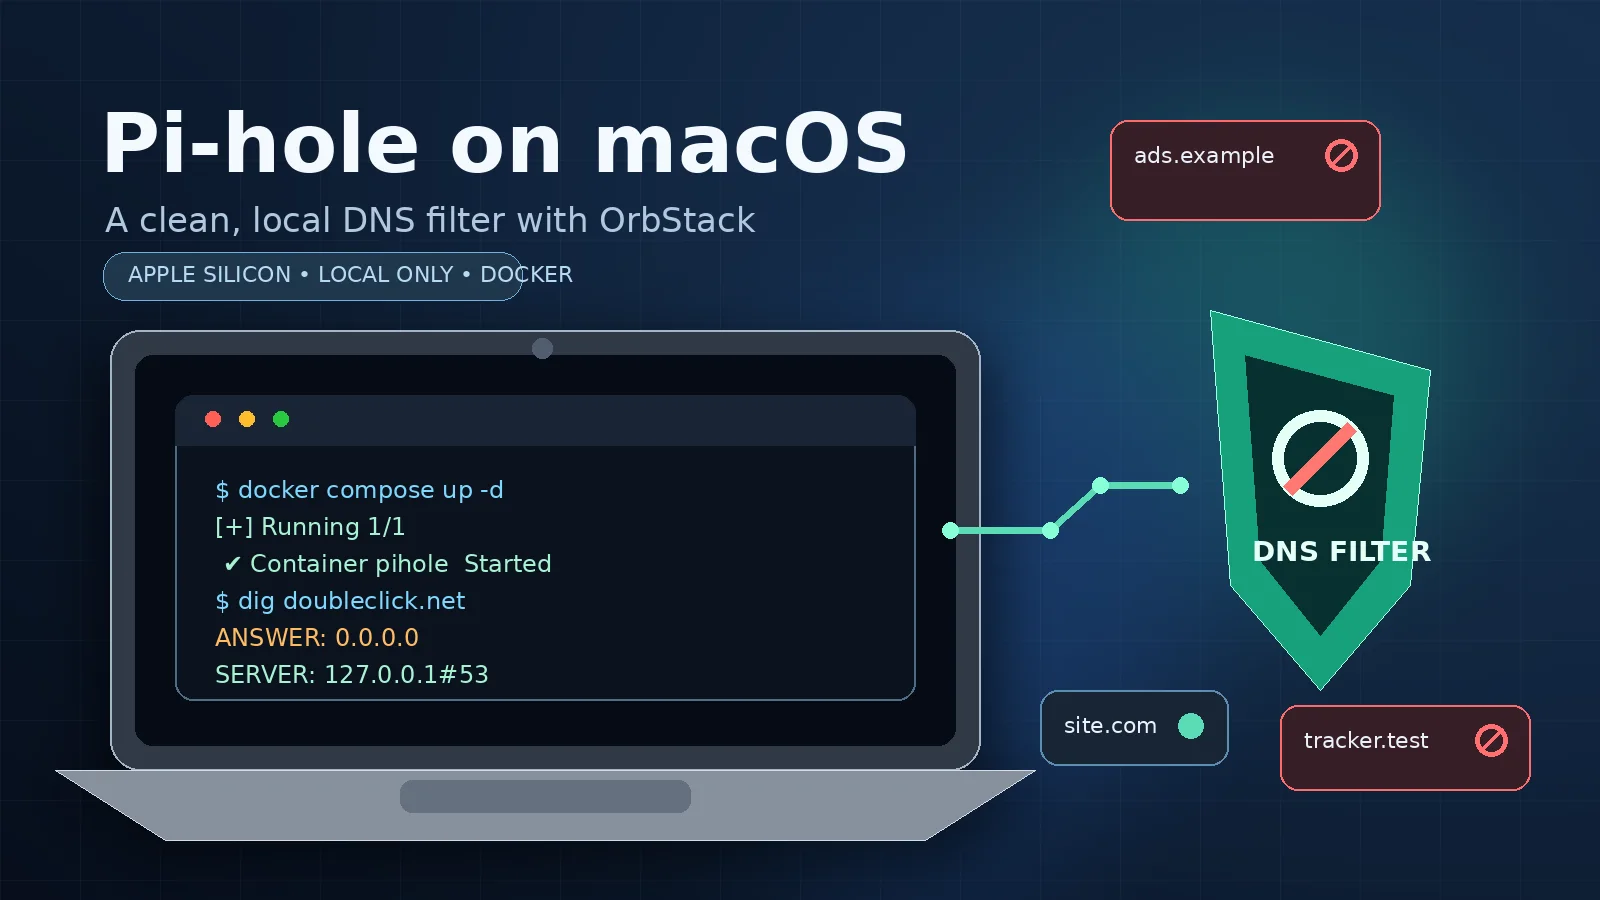
I wanted network-level advertising and tracker filtering on my Apple-silicon MacBook Pro without modifying macOS itself or maintaining another physical device. Pi-hole is designed for supported Linux operating systems, while macOS is not listed as a native target, so the clean solution was to run the official Pi-hole image in a lightweight Docker environment.
This guide documents the exact local-only setup I used: OrbStack provides Docker on macOS, Pi-hole listens only on 127.0.0.1, and macOS sends DNS queries from the active Ethernet service to that local resolver. The result filters this Mac without exposing an open DNS service to the local network.
Scope: this configuration protects one Mac. It does not automatically filter every device on the LAN. That would require a different network-wide design, normally involving a continuously available Pi-hole host and router or DHCP changes.
Why I used OrbStack and Docker
Pi-hole's official prerequisites list maintained Linux distributions, not macOS. Pi-hole does, however, publish an official Docker image and a Docker Compose example. Apple silicon is also a good match for the ARM64 architecture supported by the Pi-hole resolver.
OrbStack is a lightweight Docker environment for macOS. It includes the Docker command-line tools and Docker Compose, while avoiding a manual Linux virtual-machine installation. The important architectural choice is not OrbStack itselfâÂÂDocker Desktop could also run the containerâÂÂbut the container keeps Pi-hole isolated and reproducible.
What this setup looks like
macOS applications â 127.0.0.1:53 â Pi-hole container â configured upstream DNS resolversThe Pi-hole DNS and administration ports are bound to the loopback address. Other computers on the network cannot query this instance, and the web dashboard is available only from the Mac itself.
1. Install and start OrbStack
With Homebrew already installed:
brew install orbstack open -a OrbStackAfter OrbStack starts, verify Docker and Compose:
docker version docker compose version2. Confirm that DNS port 53 is available
Pi-hole must bind TCP and UDP port 53. Check for another local DNS service before starting the container:
sudo lsof -nP \ -iTCP:53 -sTCP:LISTEN \ -iUDP:53No output normally means the port is free. If another process owns port 53, identify and resolve that conflict rather than terminating an unfamiliar system service blindly.
3. Create a persistent Pi-hole service directory
mkdir -p ~/Services/pihole cd ~/Services/pihole umask 077 printf 'PIHOLE_PASSWORD=%s\n' "$(openssl rand -hex 18)" > .env chmod 600 .envThe .env file becomes the source of the Pi-hole administration password used by Docker Compose. Keeping it permission-restricted prevents other local users from reading it.
4. Create the Compose configuration
Create ~/Services/pihole/compose.yaml with the following content:
services: pihole: container_name: pihole hostname: pihole image: pihole/pihole:latest ports: - "127.0.0.1:53:53/tcp" - "127.0.0.1:53:53/udp" - "127.0.0.1:8080:80/tcp" environment: TZ: "Australia/Adelaide" FTLCONF_webserver_api_password: "${PIHOLE_PASSWORD}" FTLCONF_dns_listeningMode: "ALL" FTLCONF_dns_upstreams: "9.9.9.9;149.112.112.112" volumes: - "./etc-pihole:/etc/pihole" restart: unless-stoppedWhy these settings matter
- 127.0.0.1:53 exposes DNS only to the Mac itself.
- 127.0.0.1:8080 keeps the administration interface local.
- FTLCONF_dns_listeningMode: "ALL" is required for the normal Docker bridge arrangement, even though host-side access remains restricted by the loopback port bindings.
- ./etc-pihole:/etc/pihole preserves settings and database data when the container is recreated.
- restart: unless-stopped restarts Pi-hole when the Docker engine returns.
- Explicit upstream resolvers prevent Pi-hole from trying to resolve through itself.
The example uses Quad9 addresses. They can be replaced with other trusted upstream resolvers. Do not add an external resolver directly to the macOS network service as a âÂÂbackup,â because macOS could then bypass Pi-hole.
5. Start Pi-hole
cd ~/Services/pihole docker compose pull docker compose up -d docker compose psInspect the initial logs if the service is not healthy:
docker compose logs --tail=100 pihole6. Test Pi-hole before changing macOS DNS
dig @127.0.0.1 pi-hole.netA successful response should contain an address and show:
SERVER: 127.0.0.1#53This proves that the local container is resolving DNS before macOS depends on it.
7. Open the administration interface
Open:
http://127.0.0.1:8080/admin/To display the generated password:
grep '^PIHOLE_PASSWORD=' ~/Services/pihole/.env | cut -d= -f2-8. Identify the active Ethernet service
macOS DNS settings are attached to named network services rather than simply to an interface such as en15. My Mac had several historical Ethernet and dock services, so I first listed the services that currently had addresses:
networksetup -listallnetworkservices | tail -n +2 | while IFS= read -r service; do ip=$(networksetup -getinfo "$service" 2>/dev/null | awk -F': ' '/^IP address:/{print $2}') if [[ -n "$ip" && "$ip" != "none" && "$ip" != "0.0.0.0" ]]; then printf "%-35s %s\n" "$service" "$ip" fi doneThen I checked the default route:
route -n get default | grep -E 'gateway:|interface:'In my case the active interface was en15. I mapped that interface back to its macOS service name:
networksetup -listnetworkserviceorder | grep -B1 'Device: en15'The result identified Thunderbolt Ethernet Slot 0. Use the service name shown on your own Mac; do not copy mine without checking.
9. Point the active Ethernet service to Pi-hole
sudo networksetup -setdnsservers "Thunderbolt Ethernet Slot 0" 127.0.0.1Verify the configured DNS server:
networksetup -getdnsservers "Thunderbolt Ethernet Slot 0"The output should be:
127.0.0.1Flush the macOS DNS cache:
sudo dscacheutil -flushcache sudo killall -HUP mDNSResponder10. Verify normal macOS resolution
This test deliberately does not specify a DNS server:
dig pi-hole.netThe response should again show:
SERVER: 127.0.0.1#53At this point macOS is using Pi-hole through the selected Ethernet service.
11. Test actual blocking
I used a commonly blocked advertising domain:
dig doubleclick.netMy Pi-hole returned:
doubleclick.net. 2 IN A 0.0.0.0 SERVER: 127.0.0.1#53I then tested the application connection:
curl -I --connect-timeout 5 https://doubleclick.netThe connection failed because the blocked hostname resolved to the local sink address. The same query appeared as blocked in red under Pi-hole's Query Log. Together, these tests confirmed DNS routing, blocklist matching and application-level failure.
12. Set your own administration password
If replacing the generated password, update the persistent .env value and recreate the container. The following avoids displaying the password while it is typed:
cd ~/Services/pihole read -s "NEWPASS?Enter your new Pi-hole password: " echo printf 'PIHOLE_PASSWORD=%s\n' "$NEWPASS" > .env chmod 600 .env unset NEWPASS docker compose up -d --force-recreateA password containing a newline is not valid for this simple environment-file method. Be careful with quotation characters and complex shell-sensitive values; a long generated hexadecimal password is the least ambiguous option.
13. Start Pi-hole automatically
Add OrbStack under:
System Settings â General â Login Items & Extensions â Open at LoginBecause the container uses restart: unless-stopped, Pi-hole should return when OrbStack's Docker engine starts. This is a login-time macOS service arrangement rather than a native pre-login Pi-hole daemon.
14. Know the rollback command before you need it
This design creates an intentional dependency: if Pi-hole or OrbStack is stopped, the Mac cannot resolve names while its DNS remains set to 127.0.0.1. Restore DHCP-provided DNS with:
sudo networksetup -setdnsservers "Thunderbolt Ethernet Slot 0" Empty sudo dscacheutil -flushcache sudo killall -HUP mDNSResponderAgain, substitute your actual network-service name.
15. Routine management
Status and logs
cd ~/Services/pihole docker compose ps docker compose logs --tail=100 piholeRestart
docker compose restartStop and start
docker compose stop docker compose startUpdate
Pi-hole's Docker documentation recommends replacing the container with a fresh image and reading release notes before upgrades:
cd ~/Services/pihole docker compose pull docker compose down docker compose up -dThe persistent volume keeps the Pi-hole data while the container is recreated. I would not enable unattended Pi-hole updates: DNS is critical infrastructure, and a failed update can remove name resolution from the Mac.
What Pi-hole can and cannot block
Pi-hole blocks at the DNS layer. It is effective against many advertising, tracking and telemetry hostnames used by websites and applications. It also gives useful visibility into which domains software is requesting.
It cannot distinguish an advertisement from desired content when both are served from the same hostname. This is why DNS filtering does not reliably remove every YouTube or first-party advertisement. A browser content blocker remains useful alongside Pi-hole.
Pi-hole also cannot calculate exact bandwidth savings. It knows that a DNS request was blocked, but because the connection never happens, it never sees how many bytes the advertisement or script would have transferred.
VPN and encrypted-DNS caveats
A VPN client may install its own DNS configuration and bypass the Ethernet service's resolver. Browsers or applications using their own DNS-over-HTTPS implementation can also avoid the system DNS path. When filtering appears inconsistent, inspect the effective DNS configuration and check whether queries appear in Pi-hole's Query Log.
Final result
This setup gave me a clean, reversible Pi-hole installation on an M1 MacBook Pro without altering macOS or exposing DNS to the surrounding network. The important parts were straightforward: use the official container, bind every published port to loopback, identify the real active macOS network service, verify resolution before and after changing DNS, and keep the rollback command close at hand.
The same pattern should work on later Apple-silicon Macs, provided Docker can bind local port 53 and the correct network service is configured.